







Technical Deep Dive: Enabling JLR Unlimited Fog Lights via CCF Editing
For the professional Jaguar Land Rover technician, mastering the JLR Engineering Tool (JET) and Car Configuration File (CCF) editing is not merely an advanced skill—it is a fundamental requirement for modern diagnostics, customization, and retrofit programming. This capability moves us beyond simple code reading into the realm of vehicle personality configuration, allowing precise control over features engineered into the vehicle’s hardware. A quintessential application of this knowledge is resolving the common client request: activating the JLR Unlimited fog lights functionality, where front fog lights remain illuminated with the main high-beam headlights, a feature often restricted by regional market settings. This article provides a comprehensive, technical walkthrough of this specific procedure.
Technical Breakdown of the JLR Unlimited Fog Lights Function
The “JLR Unlimited fog lights” mod refers to reconfiguring the vehicle’s lighting logic to allow concurrent operation of front fog lights and high-beam headlights. By default, on most JLR vehicles, activating the high beams will automatically deactivate the front fog lights as a regulatory or design choice. This behavior is governed by software logic within the relevant control modules, primarily the Body Control Module (BCM) or the Central Configuration Manager.
Understanding the CCF Parameter
The setting is typically found within the CCF of the BCM or a dedicated lighting module. It may be listed under a parameter such as “Foglight cutout with high beam”, “Front Fog Lamp Dropout”, or similar nomenclature within the JET software environment. The parameter is usually a binary toggle (Enabled/Disabled) or a numeric value. The goal is to set this parameter to the state that permits combined operation. It is crucial to note that the exact parameter name and location can vary significantly between vehicle platforms (e.g., Range Rover L405 vs. Jaguar XF) and model years, necessitating accurate platform identification.
Hypothetical Step-by-Step Process for CCF Editing
Disclaimer: This is a generalized technical procedure. Always ensure compliance with local vehicle regulations and have secure backups.
- Vehicle Preparation & Connection: Park the vehicle on a level surface, apply the parking brake, and connect a stable power supply to the battery to prevent voltage drops during programming. Connect your DOIP VCI interface to the vehicle’s OBD-II port and your networked laptop.
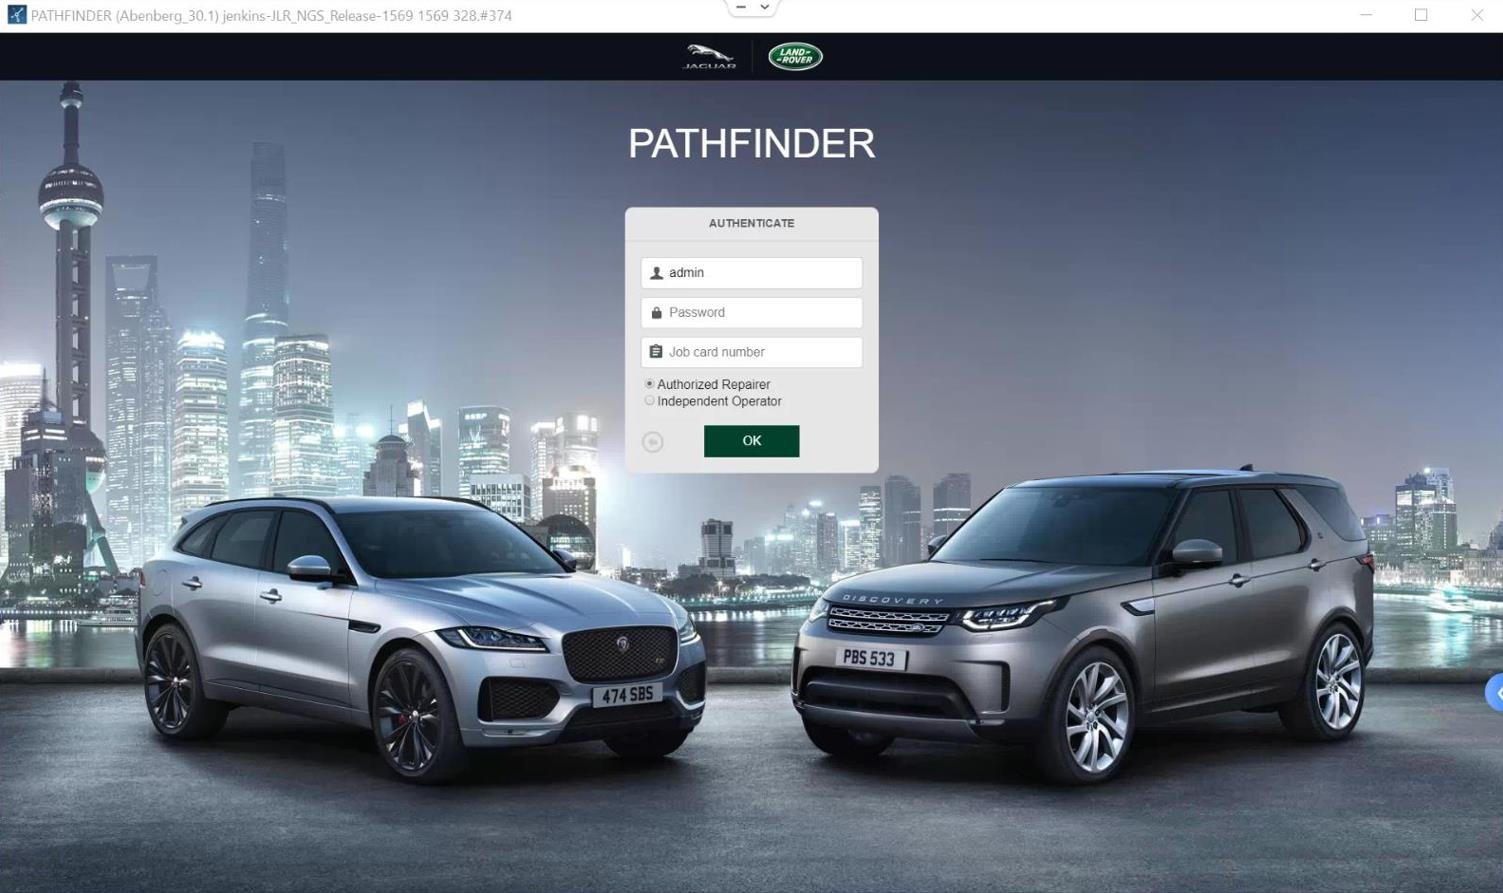
- Initial Diagnostic Session: Launch your diagnostic software (e.g., Pathfinder, SDD, or other engineering suite) and establish a connection to the vehicle. Read and save all current fault codes as a baseline.
- Access the Engineering Tool (JET): Navigate to the CCF editing function within your software suite. This is often found under “Programming,” “Configuration,” or “Engineering Functions.”
- Backup Original CCF: Before any modification, perform a full backup (read/save) of the original, factory CCF for the target module. This is your critical safety net.
- Locate and Modify Parameter: Within the CCF tree structure, browse to the BCM or lighting module section. Locate the specific high-beam/foglight interaction parameter. Change its value from “Enabled” (for cutout) to “Disabled,” or to the numeric value specified for your platform.
- Validate and Write: Double-check the change. Write the modified CCF block back to the vehicle module. The tool will compile and transfer the data.
- Module Reset & Test: Follow the tool’s instructions to reset the module. Cycle ignition, clear any incidental fault codes, and perform a full functional test: activate front fog lights, then engage high beams to verify both remain illuminated.
Essential Tools and Hardware Requirements
Attempting this procedure requires professional-grade equipment. A generic OBD-II scanner is wholly insufficient.
- DOIP VCI (Vehicle Communication Interface): A JLR-compliant DOIP interface is non-negotiable for modern JLR vehicles (approx. 2018+). It handles the high-speed diagnostics and secure gateway communication required for CCF work.
- Stabilized Power Supply: A 30-40A automotive power supply is mandatory to prevent a voltage sag during the write process, which can brick a control module.
- Software & Subscription: Access to JLR’s engineering-level software (e.g., via TOPIx cloud with appropriate privileges) or a reputable third-party suite with full CCF editing capabilities for your specific vehicle model and year.
- Technical Information: Accurate wiring diagrams and CCF parameter maps for your specific VIN are essential. For a reliable, pre-configured solution that simplifies this process, technicians can explore the dedicated hardware option available at TOPIX Cloud – JLR Unlimited Fog Lights.
Common Challenges and Diagnostic Solutions
Error: “Conditions Not Correct” or Write Failure
This is often a voltage or connection issue. Verify your power supply is providing adequate amperage and that all vehicle doors, bonnet, and boot are closed to prevent network sleep modes. Ensure your DOIP VCI has a solid Ethernet connection to your laptop.
Parameter Not Found
CCF structure varies by software level. You may need to update your diagnostic software’s vehicle data or search for the parameter under alternative names. Consulting platform-specific technical bulletins is key.
Fault Codes Post-Write
After writing, always clear fault codes and perform a module reset. If lighting-related faults persist, a parameter may have been mis-set. Restore your CCF backup and re-analyze the correct coding string.
FAQ: JLR Unlimited Fog Lights Configuration
Is enabling JLR Unlimited fog lights legal in my region?
It is the technician’s and vehicle owner’s responsibility to ensure any lighting modification complies with local road traffic regulations. In some regions, simultaneous use of fog lights and high beams may be prohibited.
Can this be done with a low-cost OBD dongle?
No. Genuine CCF editing requires a JLR-compliant DOIP VCI and engineering-level software to establish a secure diagnostic session. Consumer-grade tools lack this capability.
What is the biggest risk during the process?
The primary risk is an interrupted CCF write due to power loss or poor connection, which can corrupt the module. A stable power supply and a full CCF backup are your essential safeguards.
Conclusion
Successfully enabling JLR Unlimited fog lights is a clear demonstration of proficient CCF editing skills. The process hinges on precise tooling—a proper DOIP VCI, stabilized power, and correct software—coupled with meticulous procedure: backup, verify, modify, and test. Understanding the underlying technical rationale and potential pitfalls separates the competent technician from the parts changer. As vehicle electronics grow more complex, such expertise becomes increasingly valuable within the specialist JLR workshop.
For technicians and workshops undertaking complex JLR diagnostic programming and JLR OEM retrofits beyond this example, sourcing reliable tools and expert support is critical. For comprehensive solutions and professional-grade equipment, consider visiting jlrupgrades.com for further information and support.
Yoast SEO Premium Details:
Focus Keyphrase: JLR Unlimited fog lights
Related Keyphrases: JLR fog lights coding, CCF editing JLR, DOIP VCI programming, JLR engineering tool, TOPIx cloud configuration.
Meta Description: Professional guide on enabling JLR Unlimited fog lights via CCF editing. Learn the step-by-step process, required DOIP VCI & power supply, and how to avoid common errors. For expert JLR technicians.
Tags: JLR, Land Rover, Jaguar, CCF Editing, Vehicle Programming, DOIP, Fog Lights, JET, TOPIx, Automotive Diagnostic, Retrofit.
Long-tail Keywords: how to program JLR fog lights with high beam, enable unlimited fog lights on Range Rover, JLR CCF editing tutorial for technicians, required tools for JLR module programming, solve JLR fog light cutoff issue.